Windows 11 is a new, more secure, and more reliable operating system that is the successor to Windows 10. It comes with a variety of new features and extra functions that will make it easier for you to perform everyday tasks on your Windows PC.
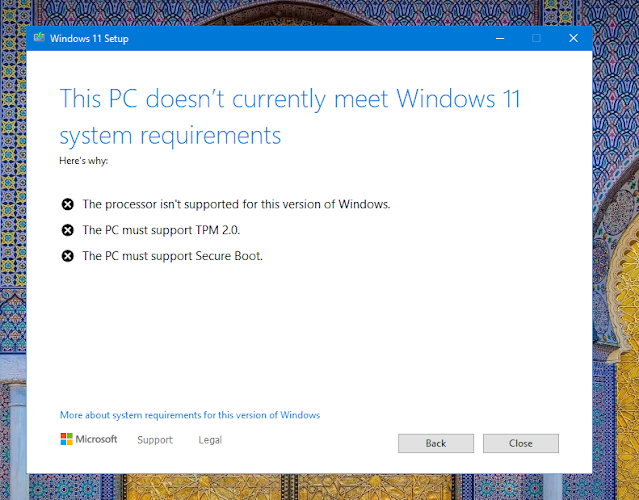
Windows 11 comes as a free update via Windows Update to Windows 10 users, however, your PC needs to meet certain hardware requirements, imposed by Microsoft, before you can upgrade to the new Windows version from your previous version of Windows 10 installation.
These requirements include, as you may know, a computer with a TPM 2.0 chip, secure boot support, and a supported CPU under Microsoft's list; which are not within everyone's reach, especially the supported processor point.
There are already several ways to bypass these requirements, but they demand some technical knowledge, especially one that requires you to make some modifications to the Windows registry.
In this article, you will find a way to circumvent the requirements and upgrade your Windows 10 PC to Windows 11 in one click using a free and open-source pre-written script, step by step.
But, before we get started, I would like to tell you that applying these steps will enable you to perform an upgrade of Windows 10 installed in your PC, to Windows 11 via Windows Update or a downloaded Windows ISO, and not perform a clean installation of Windows 11 from scratch. Also, you may have to reinstall some of the programs currently installed on your computer after the upgrade process is completed. I advise you to back up your personal data as well so that you can access it in case something unexpected happens during the upgrade process.
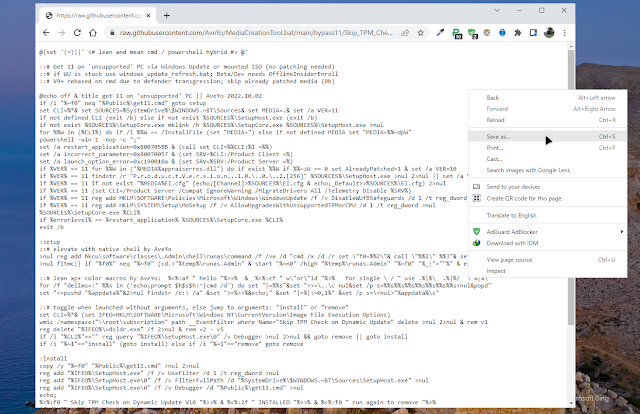
- Go to this page, right-click anywhere on it, and click "Save as...".
- In the window that will appear, remove ".txt" from the file name so that it is like "Skip_TPM_Check_on_Dynamic_Update.cmd" as in the image.
- Click the Enter button to save the script file. By default, the file will be saved to your Downloads folder, unless you choose another location to save your downloaded files.
- Right-click on the download file (Skip_TPM_Check_on_Dynamic_Update.cmd), and choose "Run as administrator".
- A black command prompt window will appear, wait a few seconds for it to finish working and it will disappear by itself.
- That's it, try again now to check for the Windows 11 update via Windows Updates. You should now see the update, and it will be downloaded and installed.
Notes:
- If you don't see the update, you can download the Windows 11 ISO file from here, and do a manual upgrade. This process will go smoothly and without the need to make any additional modifications to your system, or to download any extra software.
- After applying this method, "Windows Server" or "Installing Windows Server" may appear during the upgrade process. Do not worry, this is normal, it's the regular Windows 11 that you downloaded that will be installed on your computer, not Windows Server. {alertInfo}


